
Making Over My Son’s Room Part 7: Ball and Car Run
Last week, I made the rope ladder on my son's custom build and this week I've got another mini project to add to the overall makeover. Today we're working on a custom ball/car run. We recently went to a local attraction that had ball runs on the wall my son obsessed with. I knew there was a blank spot on the wall and I had the idea to make my own version for him to fit in that space.

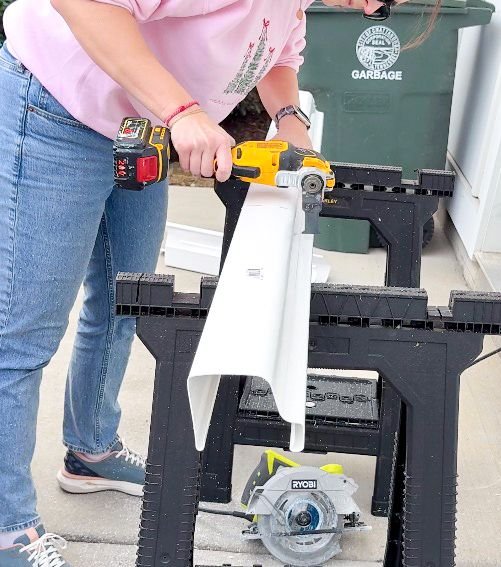
This is luckily a relatively easy project. I went back and forth on how exactly I was going to do this but finally landed on using a vinyl gutter instead of wood so I could paint it, it would be easy to work with and and it would be pretty cheap to make. I found a few vinyl gutters at Lowe's, cut them into 24" pieces. I started with my circular saw which did NOT go well at all. It ended up creating a misshapen piece with ridges that were splitting. So I switched to my multi-tool which made much cleaner cuts until I had 10 pieces total.
I primed everything with two coats of primer and then was able to use the paint that is already featured in the room to paint the rails. I used Honeybell, Limon, Willow Springs Green, Coastal Paradise, Sea to Shining Sea, Mighty Aphrodite, plus Island Sunset all by Benjamin Moore and painted two coats on each piece. Both Island Sunset and Mighty Aphrodite got two gutters each while the rest of the colors only had one.
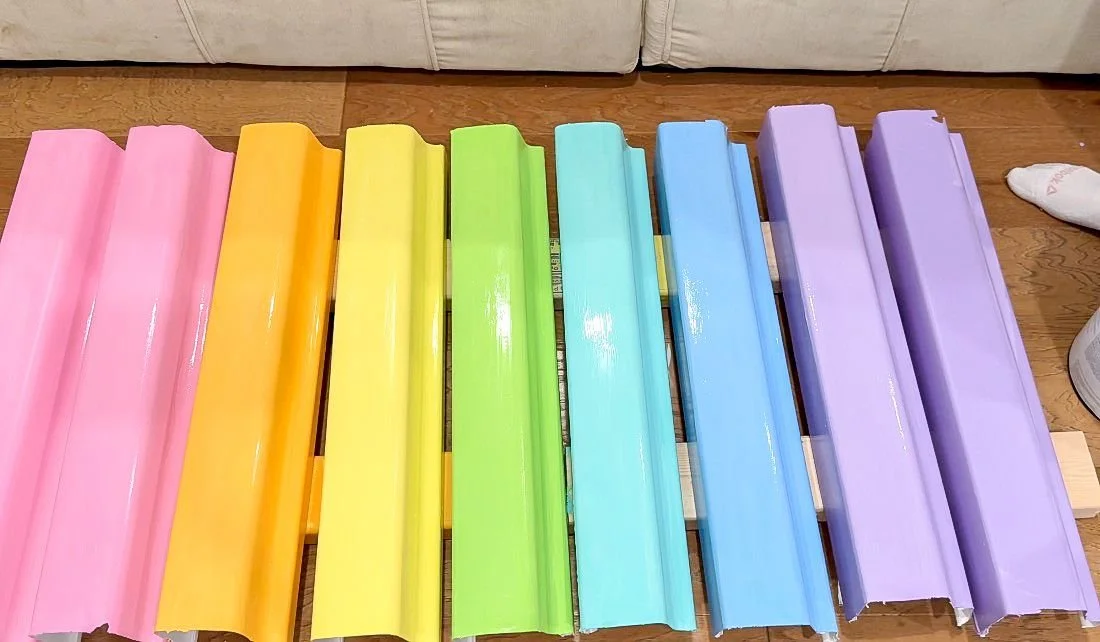
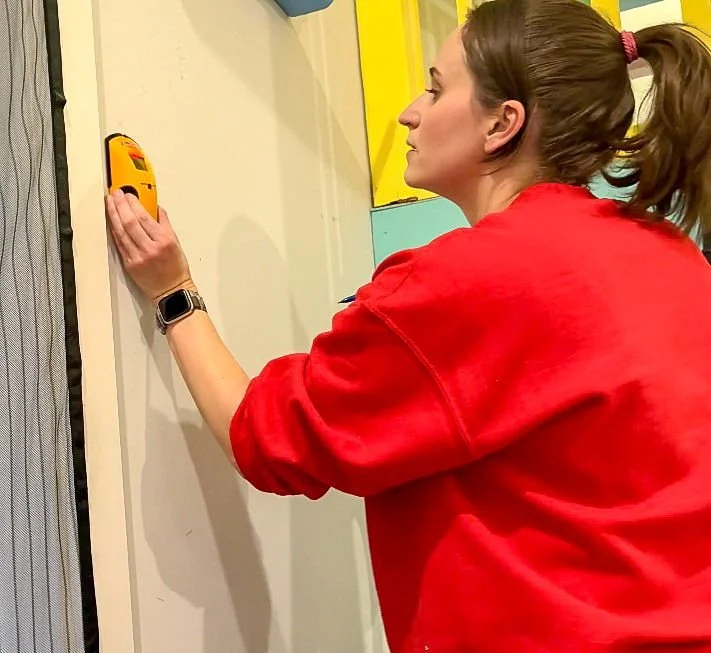
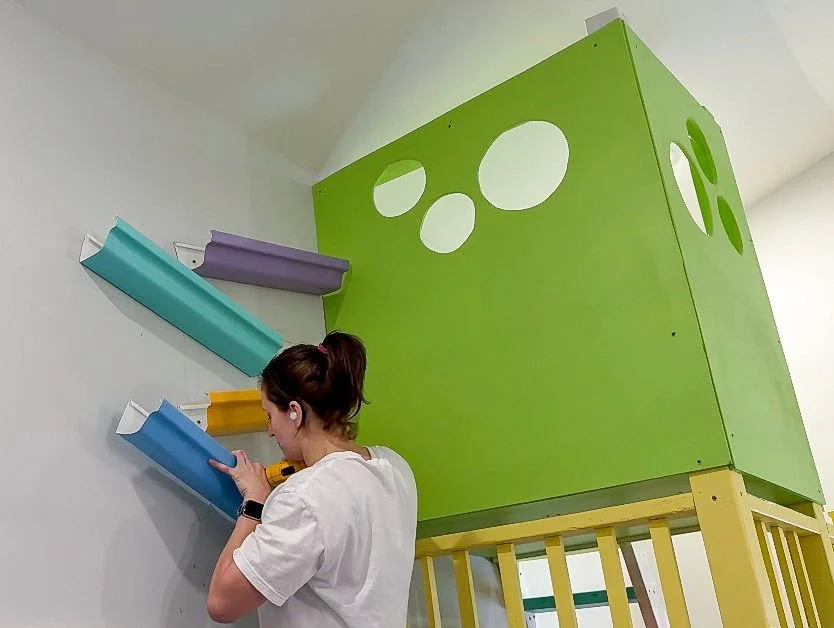
I originally wasn't planning to use the two extra but I painted them just in case and was really glad I had them once I got to assembly. I knew early on I wanted to put the ball run in between the door and bed in the loft area. Once I had everything upstairs, I measured the distance between the studs so I had at least one screw in a stud for each rail. Then I pre-drilled holes, something I thought would make it extra easy to drill holes high on the wall, but it ended up not making much of a difference.
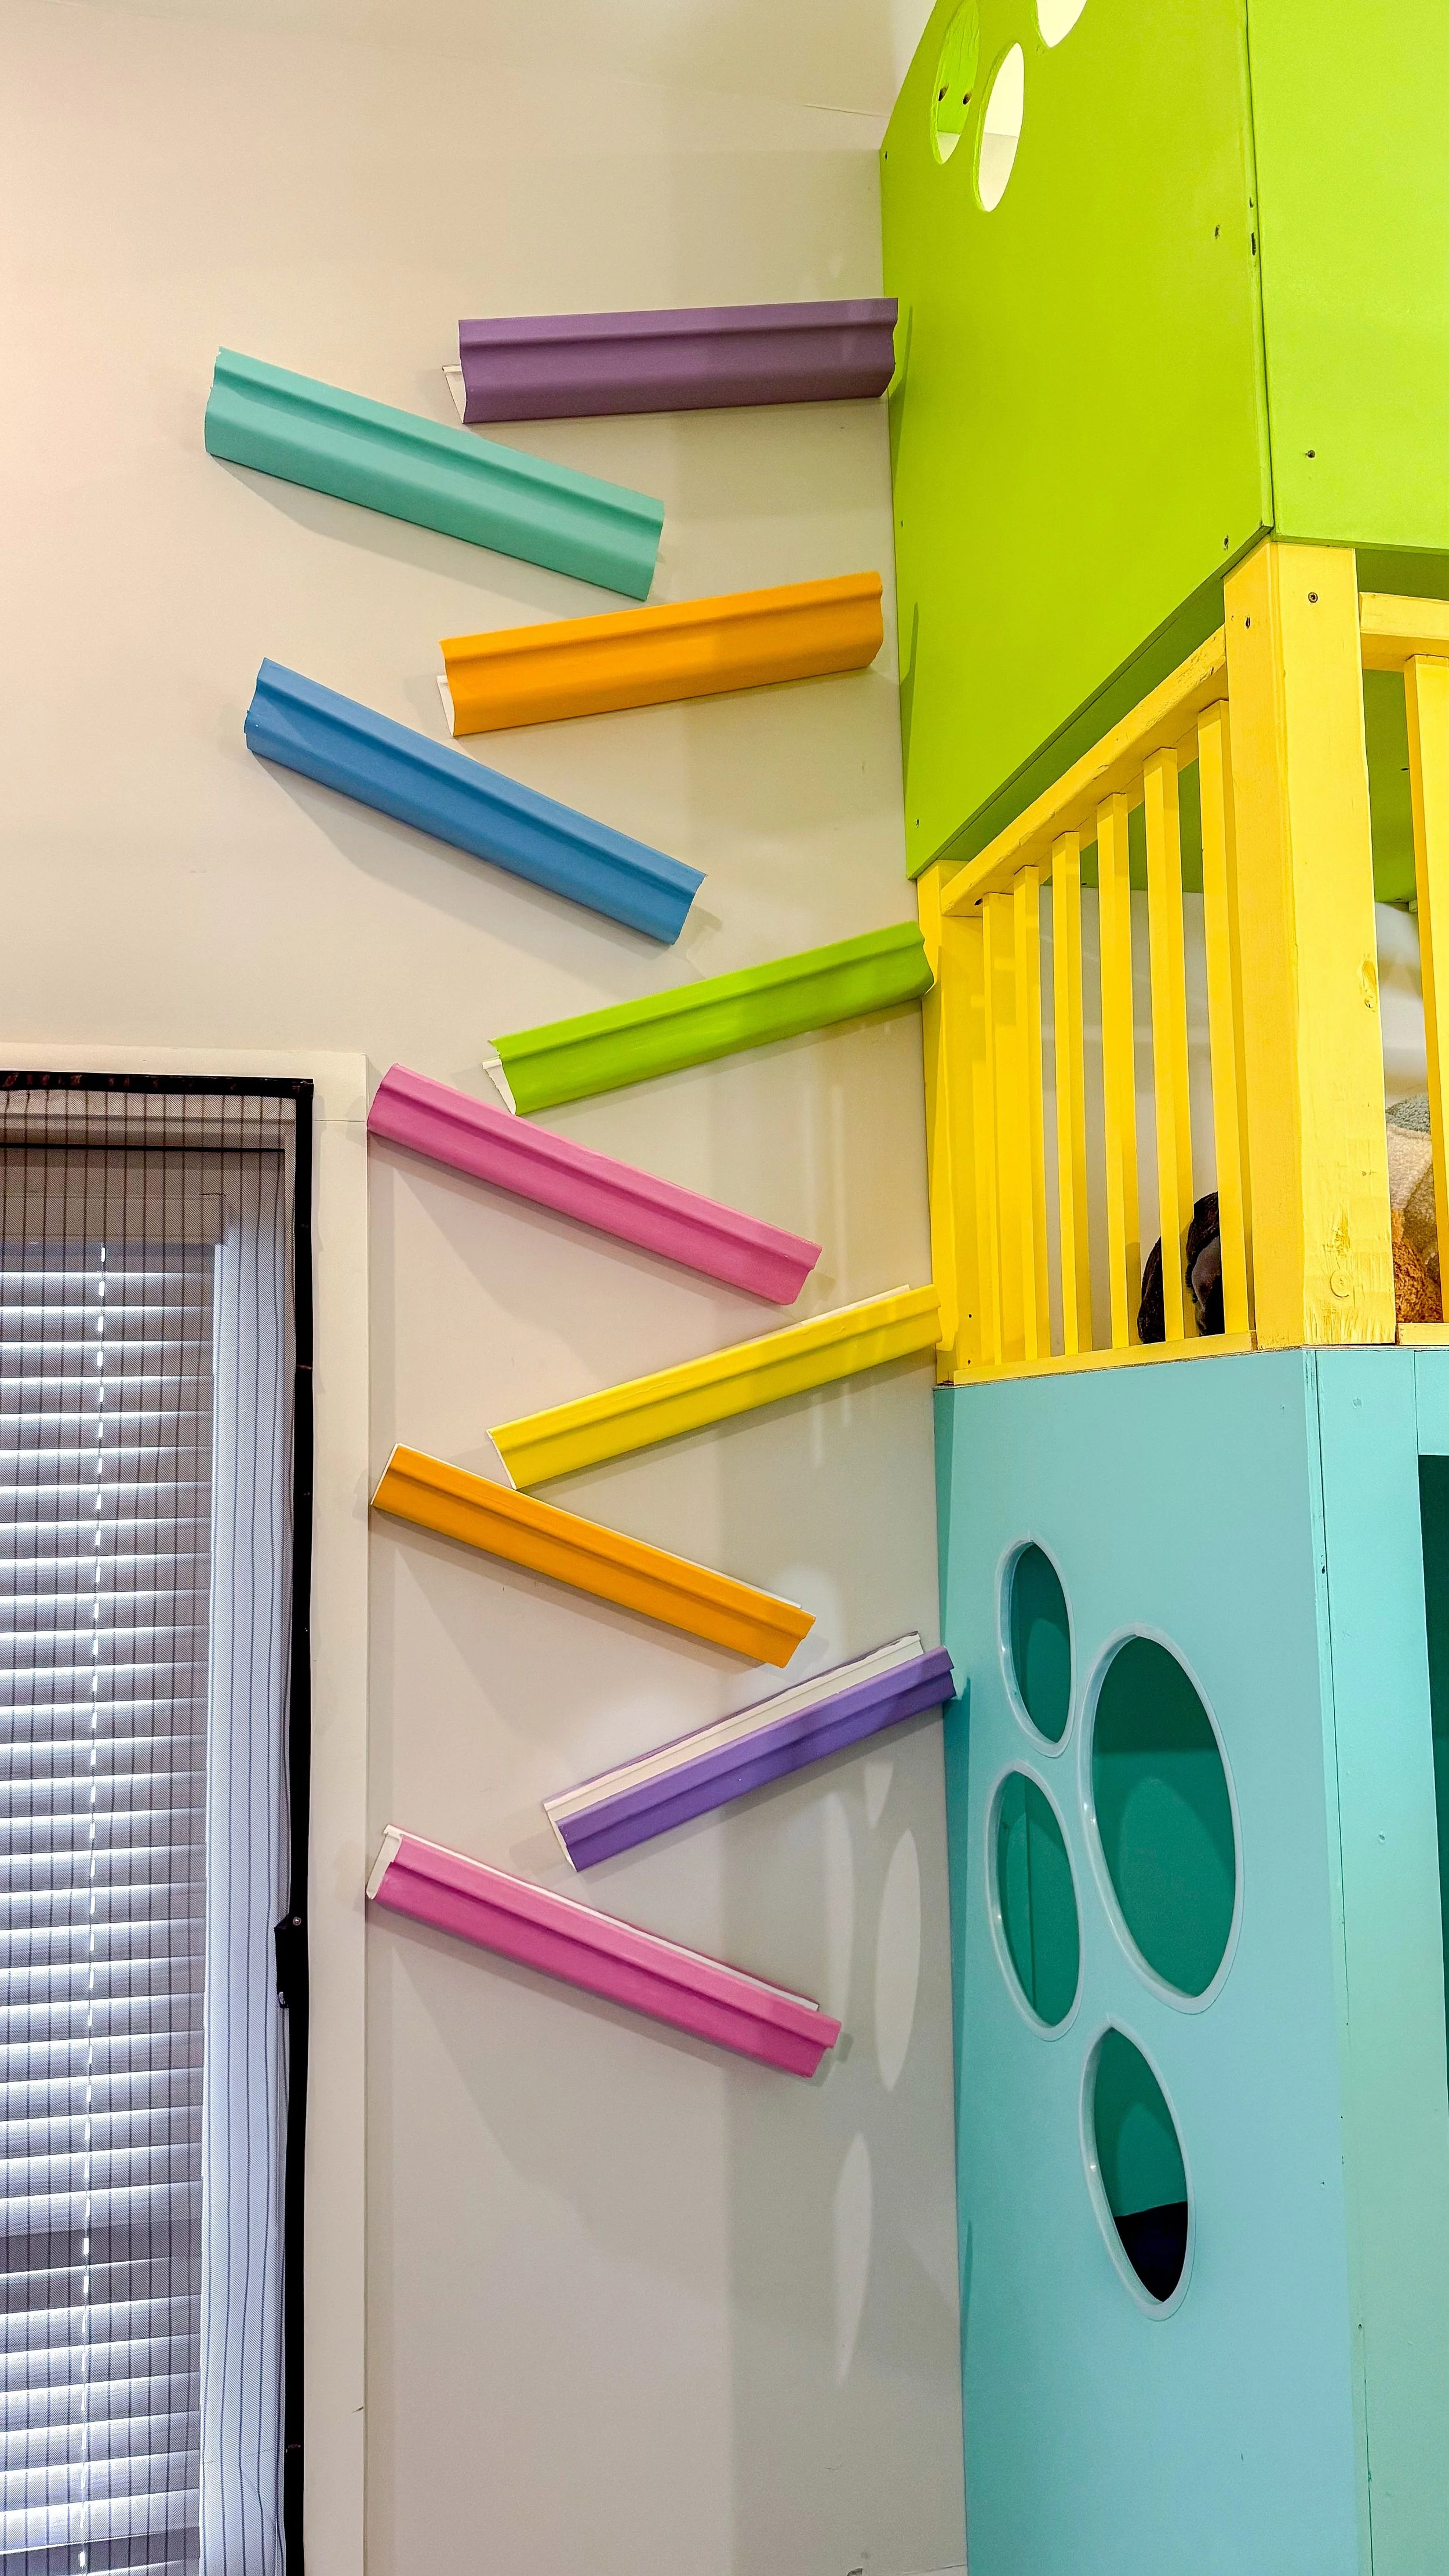
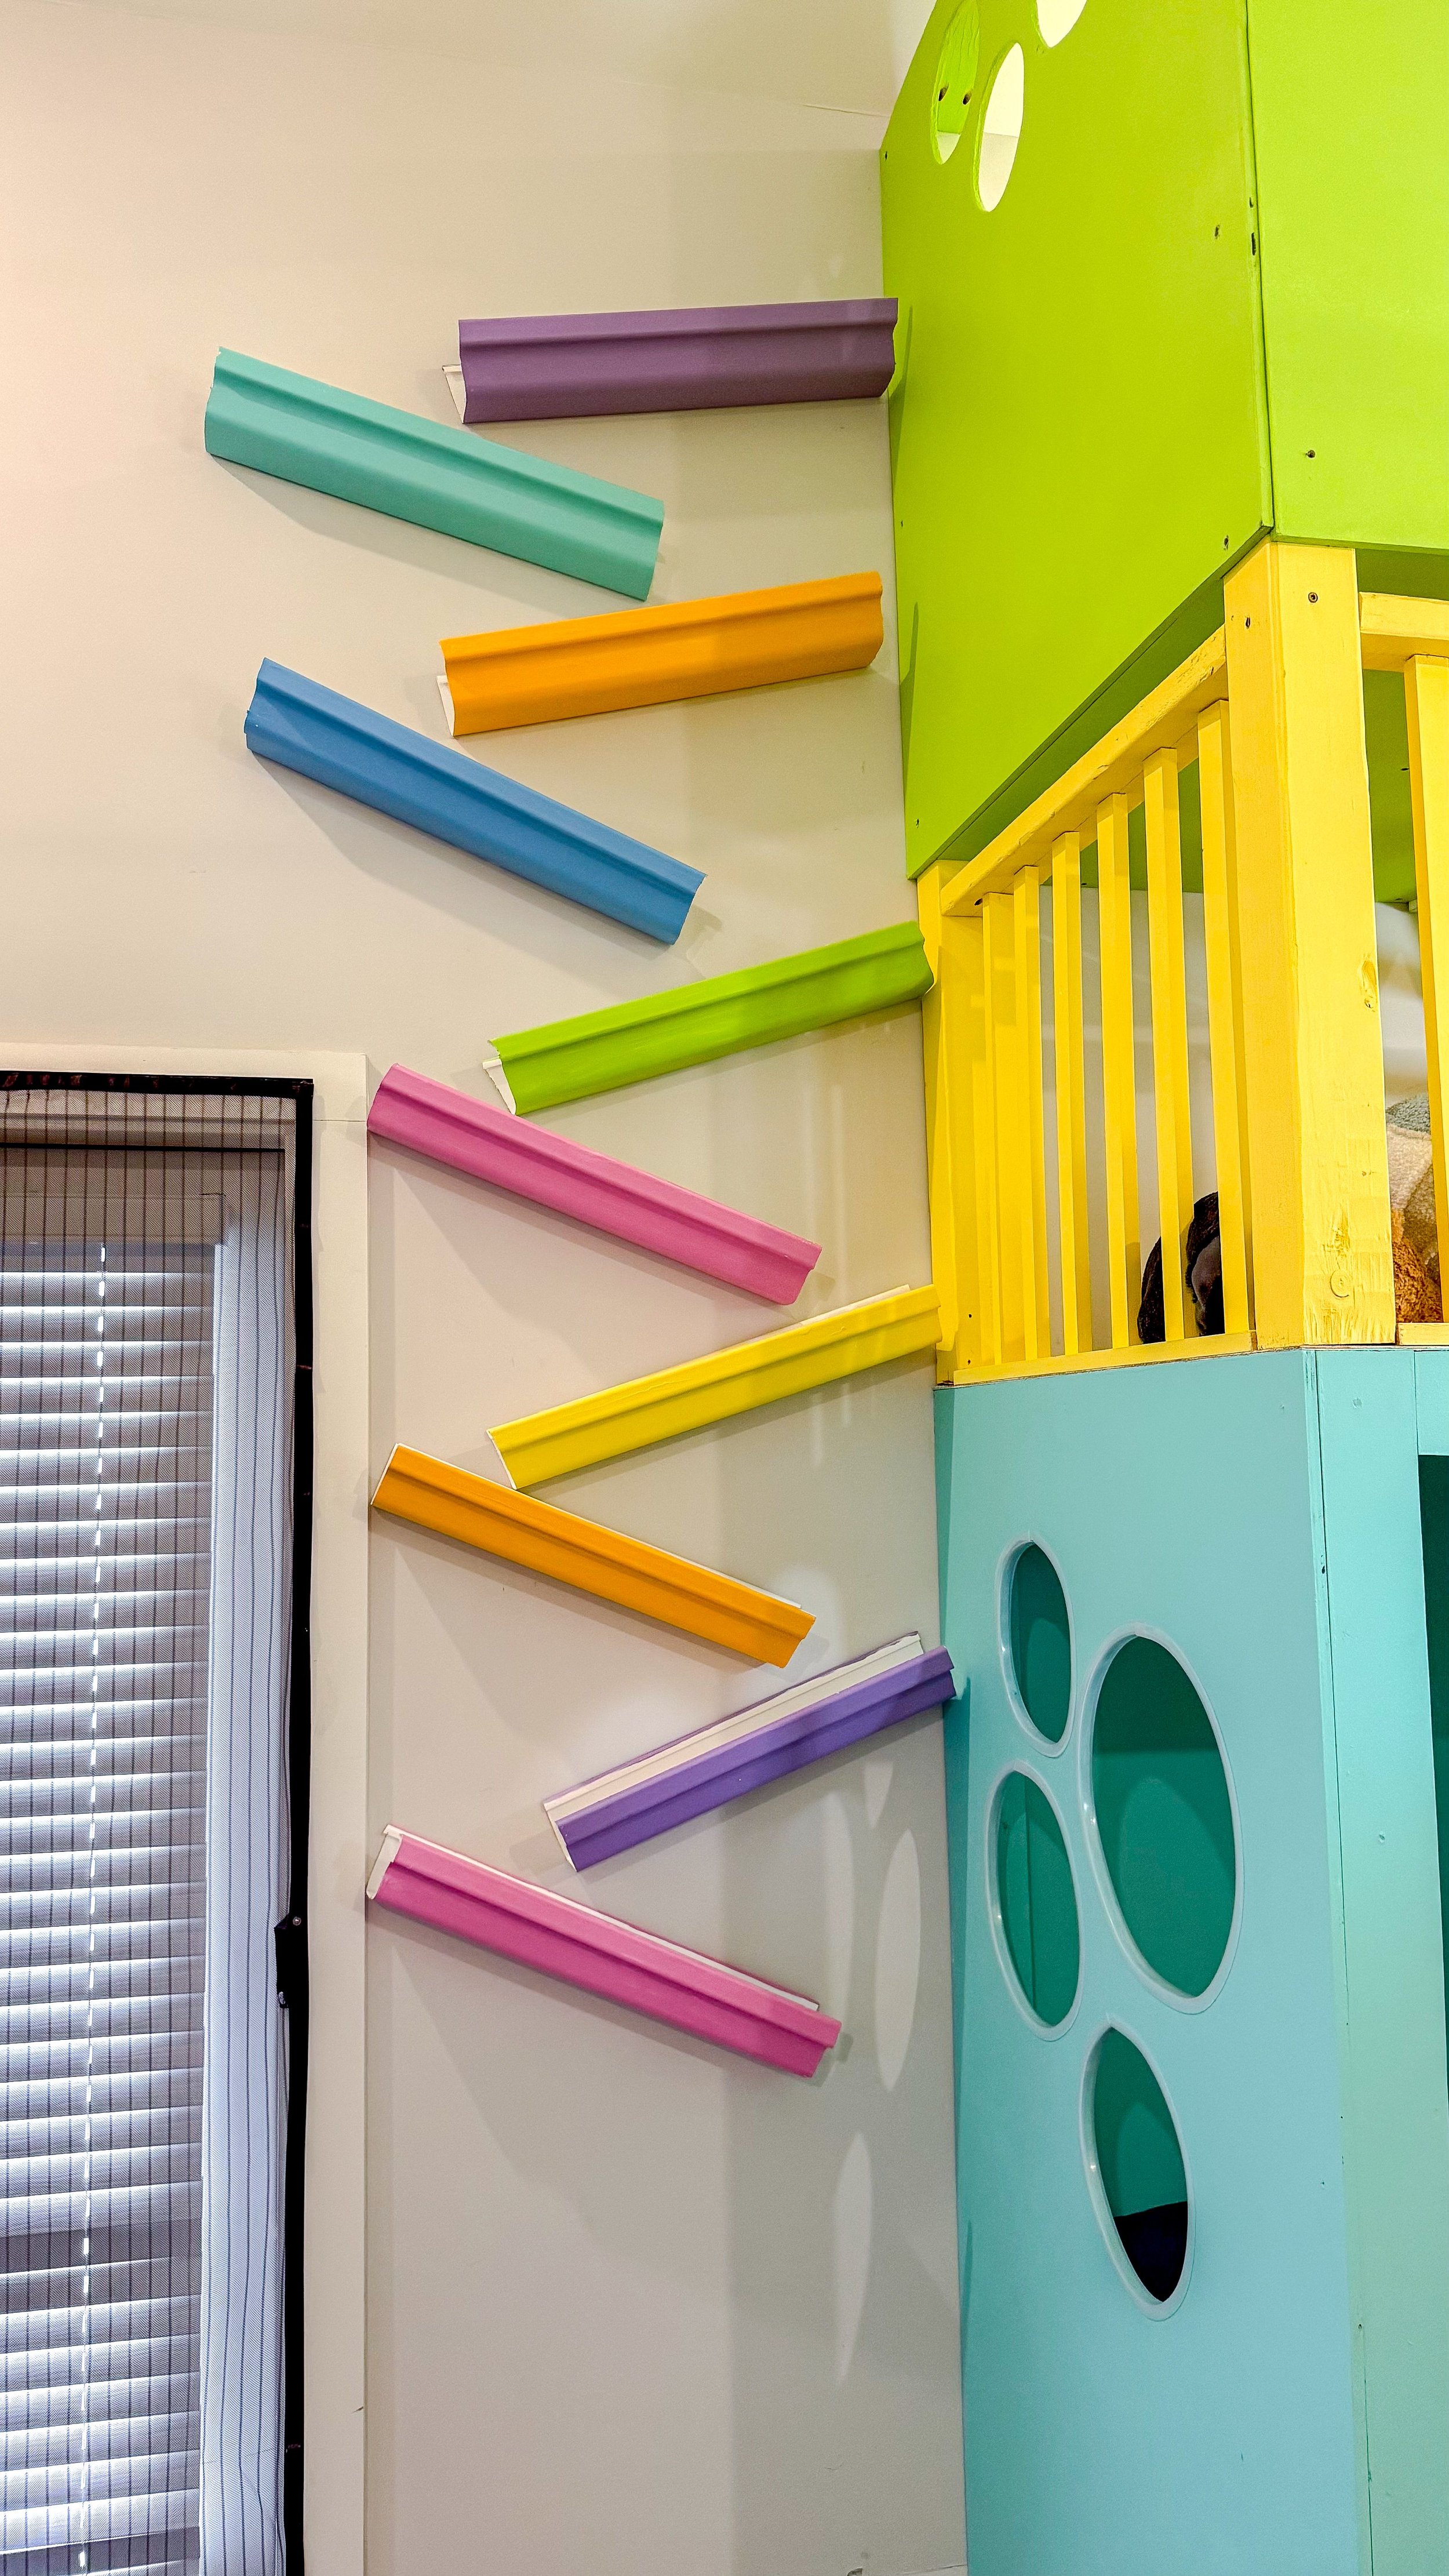
When I first started putted these up, I kind of just attached them where I thought they were the most aesthetically pleasing instead of how it would work functionally. This really came back to bite me because while this looked really cool, it didn't work for an actual ball run. After some trial and error, I realized I would have to remove everything and start again. The second time around I made sure the top piece of gutter was as close to the loft as possible. After that, with the rest of the pieces, I made sure every piece below the one already secured to the wall was angled in a way that anything that came off would be caught by the next. This resulted in the pieces being much closer together the second time around which meant I needed those two extra painted pieces.
All of the moving pieces and the ladder leaned against the wall meant I was left with a lot of holes and scrapes needing to be filled in. When I was finished installing the rails, I filled all of the holes and repainted the wall. It was super satisfying when I was able to do the first official test run and watch the ball roll smoothly down.
I seriously love this easy project and so do my kids. I love how this incorporates the colors of the entire room together and that it is placed so the kids can drop things into it from either level of the build. Watching my son use this has been a blast! Let me know if you also end up building one, you won't regret it! Stay tuned for more parts to this series in the new year.